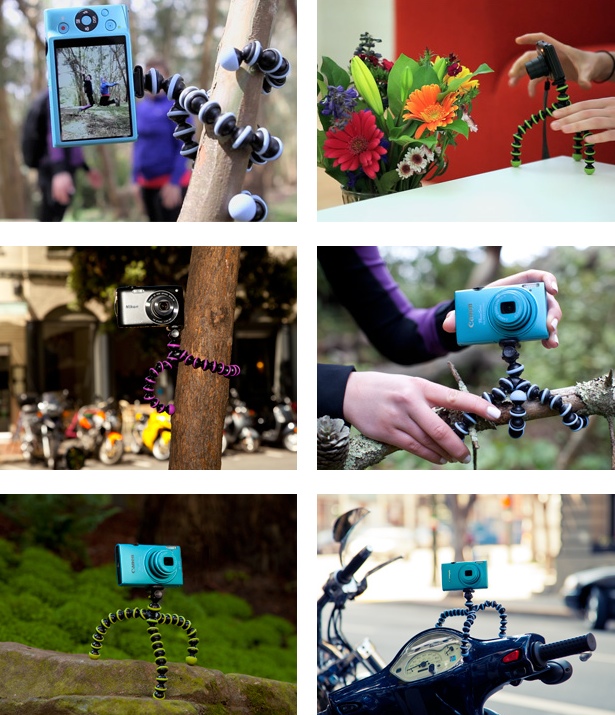
Inside My Backpack: Gorillapod
If you have been following my adventures for some time now, you probably noticed that I like to take a lot of pictures to tell my stories. A few of them came out quite nicely and once in a while I get asked what professional gear I use.
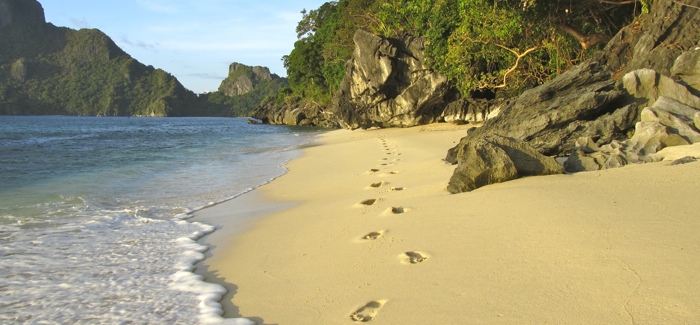
What might surprise you is that I do not know much about photography and just the suggestions of adjusting aperture or shutter speed usually terrifies me so I am just using a few preset modes on my point-and-shoot camera.
Because I do not have an expensive DSLR, I don't have a kit bag to haul with me (and I very much like that). Still, towards the end of my round-the-world trip I did purchase one piece of camera gear - a Gorillapod.
Even though I never really wanted to get a tripod (and haul it with me), I finally changed my mind while visiting Sydney. I spent all day walking around the city taking pictures of the city landmarks - the Opera House, the Harbor Bridge, the ferry terminal and the iconic downtown. Throughout the day, I have asked six people to take ten pictures of me in spots with particularly nice views.
Not a single picture came out to my liking! Again, I had to reserve to trying to take the picture I wanted by stretching my hand out as far as I could and snapping a bunch of shots of myself until I got it "right".
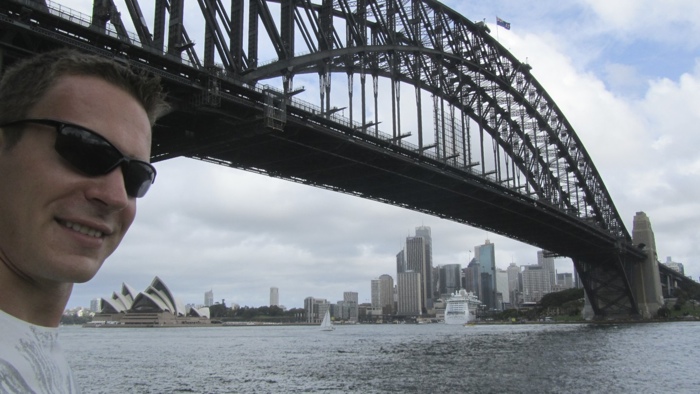
I am sure I am not alone - we have all been there. Looking silly, snapping away, looking, snapping again, until we get that perfect angle to fit everything we want to fit. But then still, the picture isn't perfect as our head is way out of proportion because there is only so far we can extend our hands.
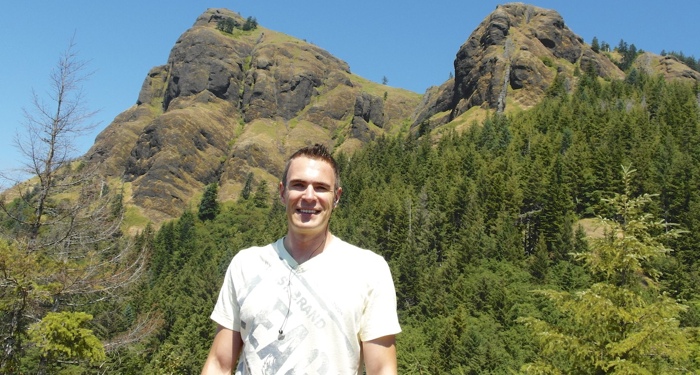
This is where the Gorillapod comes in - I just set up the camera with the view I want to capture, then jump in the picture and voila!
Unlike professional tripods, Gorillapod is very small and light:

And because of its clever design, the legs bend, twist and turn pretty much every direction imaginable, making it easy to attach it to pretty much anything out there. It makes it easy to set up the Gorillapod at just the right angle to take that "money" shot, as opposed to being limited to the traditional tripod stand.
Last, but not least, the night shots are always tricky because the slightest movements tend to distort the pictures. No more! Attach this baby to your camera and you can take a good, stable shot from virtually anywhere at night!
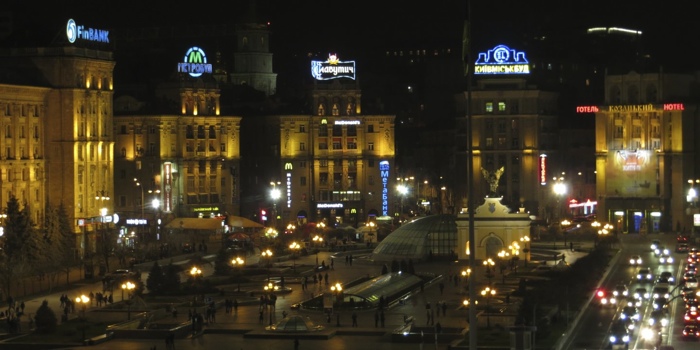
With so many uses and the fact that I no longer have to beg ask people to take (and retake!) pictures for me, it is no wonder this Gorillapod is quickly becoming one of my most-used pieces of travel gear.
Note that if you are thinking about getting one, there are different sizes available based on your camera. The GP1 model is fine for any point-and-shoots while the GP2 is a sturdier version designed for heavier professional DSLR cameras.


